I am going on a backpacking trip. I want to carry as little as possible if I can, so I tried to make a lighter and smaller sleeping bag.
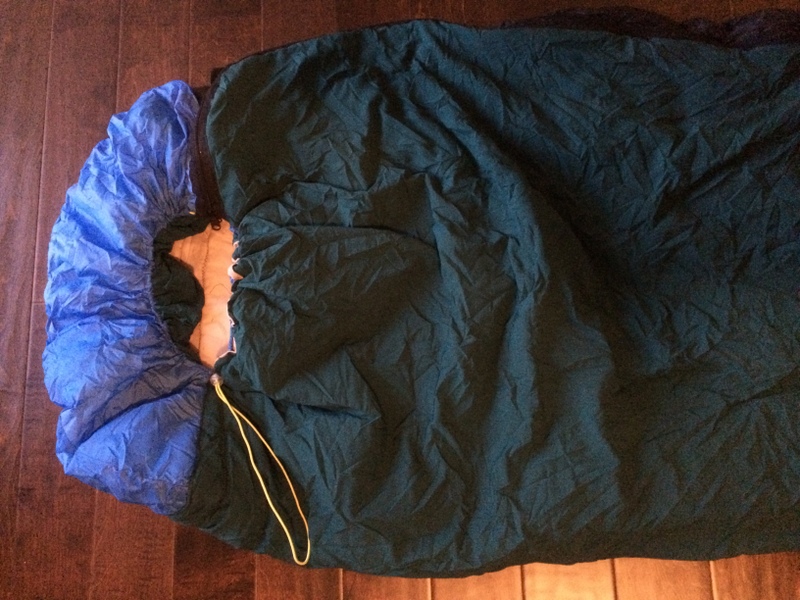
First, I cheated by starting with a sleeping bag. It is one I have had as long as I can remember. Its okay for warm car camping nights, but too heavy and non-insulating for anything else. I decided to take it apart, replace the insulation, and put it back together as a mummy bag, instead of a simple rectangle. The image below shows the bag with the insulation removed. I am in the process of shaping it to have a similar taper shape to an actual mummy shaped sleeping bag.

I purchased 2 yards of Primaloft insulation (60″ wide) from Quest Outfitters. Basically, you can buy almost any sort of material from making outdoor gear from them. I went with synthetic, instead of down, since its easier to work with, cheaper, and will stay warmer when wet. I am going to see how it works out without sewing any baffles at all (because I am lazy and trying to make this bag with the least effort). Hopefully the friction between the layers and careful handling will keep things in place. Otherwise, I may stitch a few points through all the layers to keep things from shifting. We’ll see.


I know its not great to sew through the insulation along a line since it compresses the loft along an entire line. However, for this bag, I am ignoring this fact.
For adding the zipper (and sewing on the hood for that matter), the proper time to do so would have been much earlier. Instead, I just sewed the zipper directly to the outside of the bag. I made sure to sew one side of the zipper to the edge of the bottom of the bag (the side I end up laying on) and to sew the other side of the zipper 2 inches in from the edge. That way there is a strip of insulation directly behind the zipper.


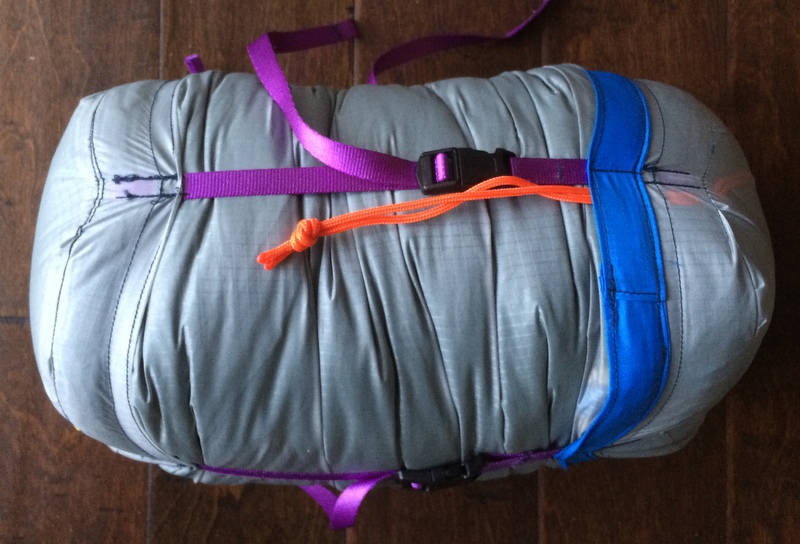
Clearly quite thrown together, but it resembles a sleeping bag! Next I needed a compression sack to keep it packed down. To estimate the volume needed, I put the sleeping bag into an existing cylindrical stuff sack that was a little too short and large in diameter for what I needed. But I could measure its height and length to calculate volume needed for my bag, and I used that volume to decide the dimensions of my new stuff sack. I settled on 20″ long at 6″ diameter.


Below image shows the pull cord tube sewn, and the addition of triangle piece of material, which will offer some strain relief on the opening, as well as create a larger opening to help make stuffing easier.


As it turns out, the skirt on the cap ended up being too short and the cap would slide side to side depending on which side was being tightened. I added an extra strip of ripstop to make the cap just a bit deeper. This seems to do the trick.

Leave a Reply
You must be logged in to post a comment.