If you thought my other ukulele blog post was long, take a deep breath before reading through this one. Also, this one is super delayed. I finished this project early March of 2016…
Around Thanksgiving (the one in 2015…) a friend of mine gave me a gourd as a gag gift.

Of course, everyone thought I threw it away after the party (but I know better than to throw anything away, ever). So a few days (maybe weeks…) later, I cut it open, scooped out the slightly rotting innards and let the shell dry. This probably isn’t the best way to dry a gourd, but because we drilled the leg holes, I didn’t have much choice.
After it was dry, the lip of the shell wasn’t flat anymore and I had to avoid an old llama leg hole (as you can see in the image below), so I used tape to lay out the edge of the new lip.


Next I started on the neck. I wanted to try making a traditional headstock with a scarf joint, so I started by cutting a pretty steep angle on a piece of scrap. Then I tilted the angle jig back 15 degrees (the angle of the scarf joint), double-stick taped the neck material, and cut the scarf joint.

Next begins a crazy Frankenstein process of building out the neck. Basically, all the scrap wood I had was just barely too small. And I miscalculated and made the head stock too short. My preferred solution was just to glue on another block of wood.

The neck piece is extra long so that it extends the full end of the instrument, from the head through the entire gourd. The gourd itself doesn’t feel all that structural, so I am expecting this neck piece to take the tension of the strings.


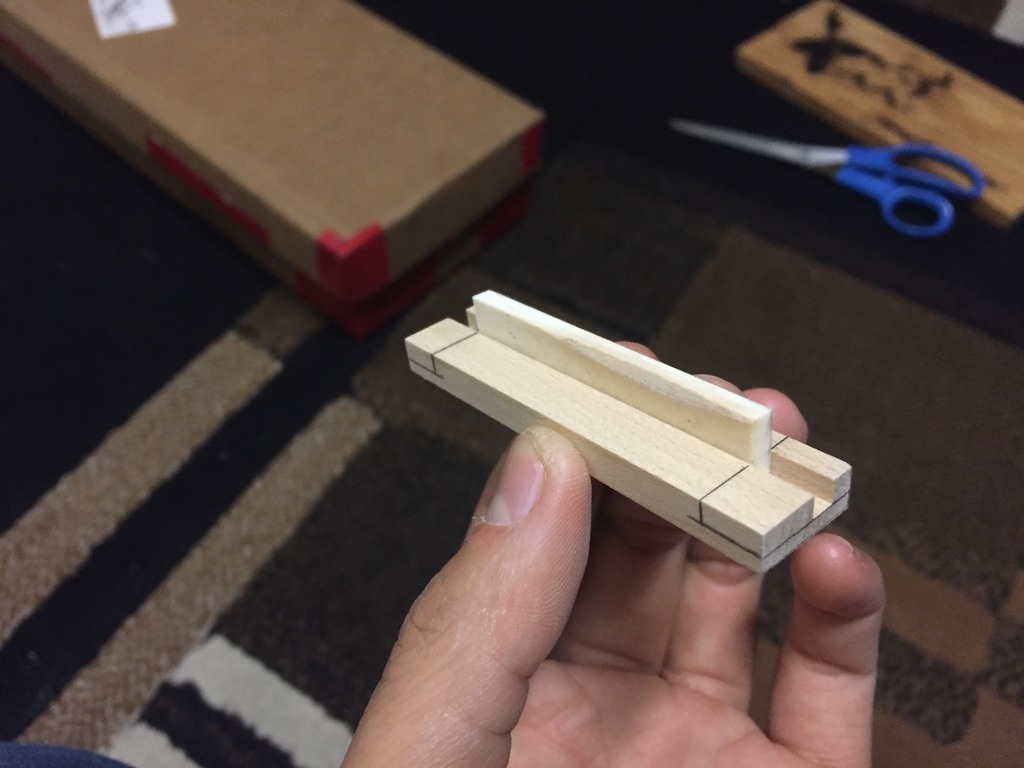
At some point I forgot that the surface of the neck that the fret board glues to actually has to be taller than the edge of the gourd by the thickness of the sound board. So in the picture below I use a fine saw to make a step down in the neck where it goes under the soundboard. The resulting thickness of the brace is less than I had planned, but I think it will still be enough.

After some work, mostly with a block plane, chisel, and knife, the neck piece that extends into the body starts to take shape. Most of it is carved to curve away from the sound board so that it doesn’t prevent the sound board from vibrating.


Before shaping the transition from the neck to the gourd, I glue the neck to the gourd with epoxy.

Very slowly, mostly with a chisel and knife, I slim the neck down to match the gourd. This neck will be quite thin all the way through, which should make it quite comfortable to play.

Around this time I also start shaping the volute.

It soon becomes apparent that I made the head too short and the tuning pegs won’t fit.

I amend this situation by gluing on yet another block and sand flush.

Next I turn my attention to the sound board. This time I actually got a piece of spruce, which is a very popular sound board material. This ukulele only required 1/4 of a guitar front.
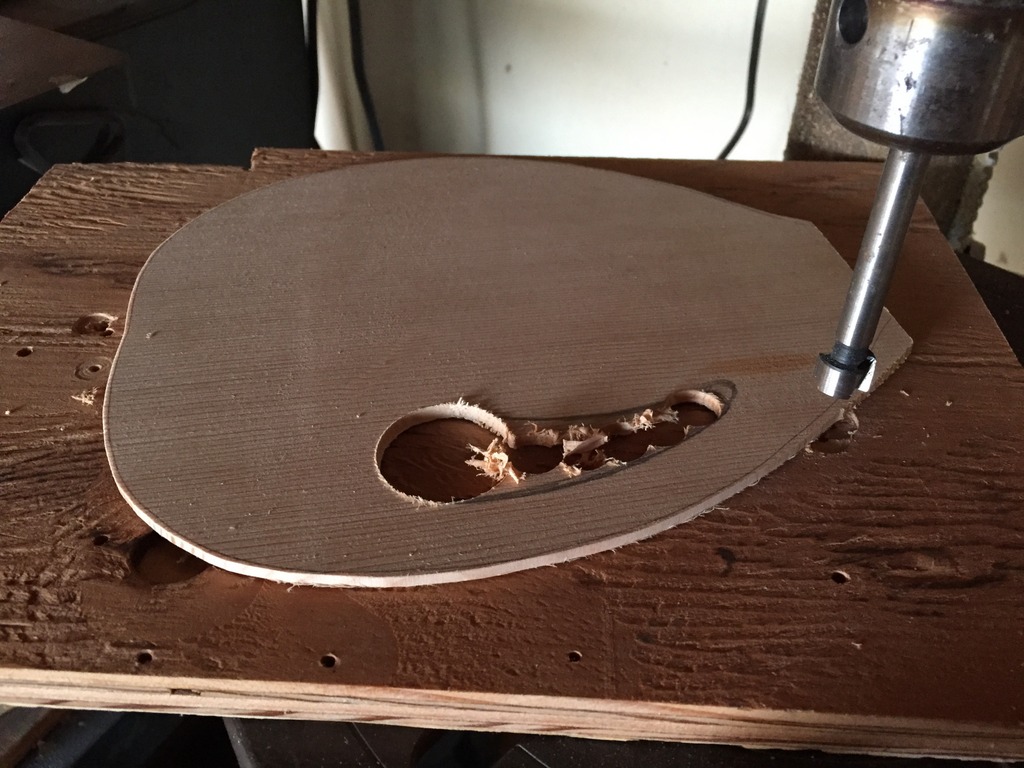
I chose an organically shaped off-center hole so that the neck piece that runs down the inside of the body won’t be easily visible.

Next I cut strips of kerfed lining to give the soundboard more surface area to glue to the gourd body.


Right before gluing on the fretboard I also glued a small piece of maple veneer to the front face of the head, just to hide the surplus of glue joints…

I worked out the tuner spacing on a scrap piece of wood.

And then used the same scrap piece as a drill guide when drilling the actual holes.

Next I made the nut and saddle using a lamb bone that came from my roommate’s dinner a few months earlier. I had boiled it for a half hour or so after receiving it just to get it as clean as possible. Then it sat around drying for quite some time.


I didn’t know exactly how high to make the bridge, so I started with one that was extra high. Then I slowly sanded it down until I felt it was right. Shown below, I used a straight piece of wood rested on the nut and saddle to help me visualize where the string would be. If the string is too high, you have to push it down really far to get it to touch the fret, and this can be tiring and slow (assuming I ever learn to play any faster). If the strings are too close to the fretboard, it can touch the fretboard even when you don’t want it to, and this may cause buzzing.

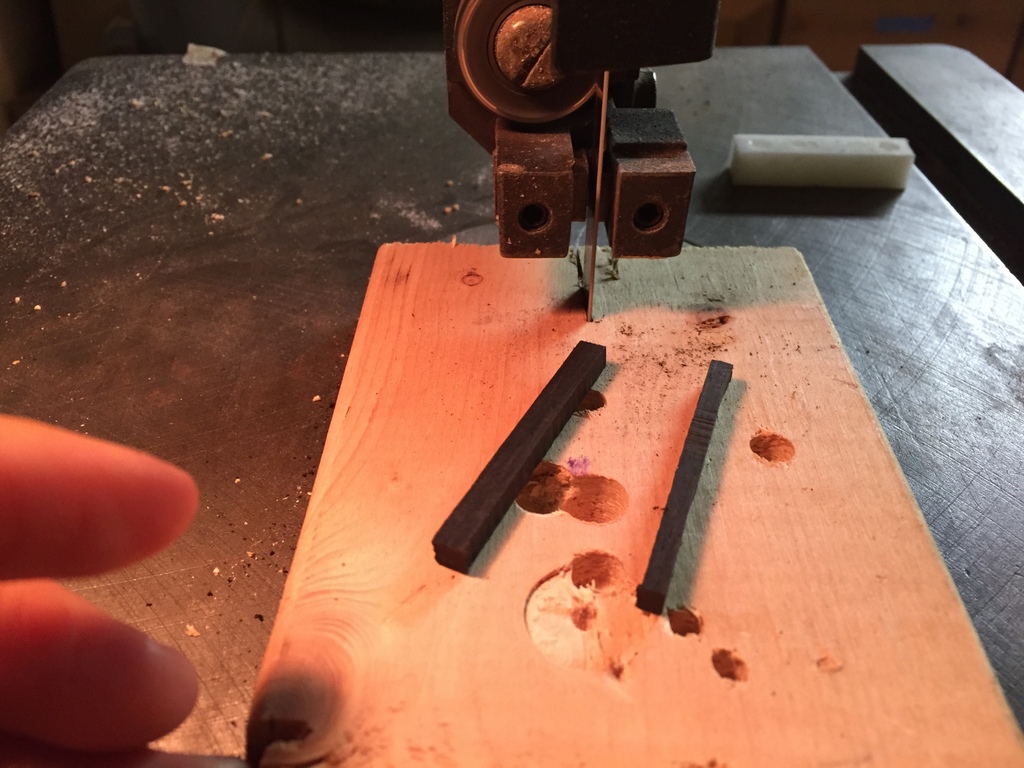
I used maple again to make a piece that the strings will eventually tie to .

Since the piece on the right is holding all the string tension, I wanted to make sure it was well secured to the part of the neck that runs the entire length of the instrument. To match the black fret markers on the fret board, I decided to use ebony to make a black dowel pin.

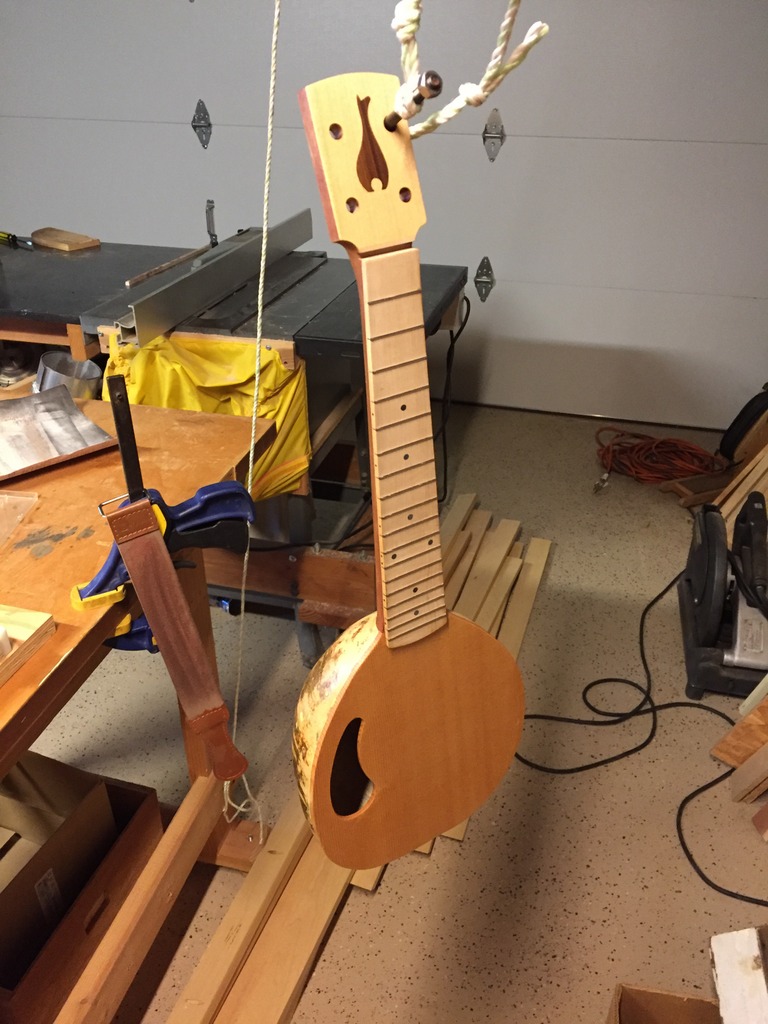
To commemorate the origins of the gourd, I decided to try my hand at inlay. I started by sketching and then cutting out a small llama shape in a thin piece of walnut. Then I double-stick taped it to the head and traced around it with a razor blade. Finally, I used a combination of little chisels to remove all the extra material. The fact that I had faced the head with a maple veneer earlier meant I had a really convenient depth gauge to make sure the inlay pocket depth was even.


After a couple coats, I used tape to mark out where the bridge pieces would go and used a small sharp chisel to scrape away the finish in those areas.

I left the tape on during gluing to help clean up overflow and also to help align the parts, since the glue can create a bit of a bearing surface that causes the parts to slide around. Below you can see how I used that ebony pin to pin the tail piece through the soundboard into the neck brace below.

After a bit more Tru-oil, assembly can finally begin!

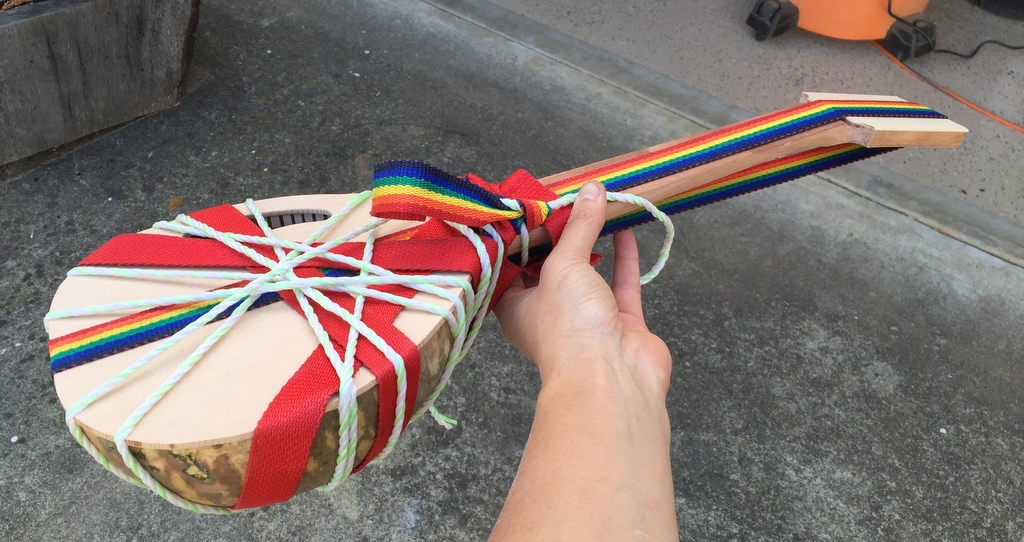
Here are some shots of the finished product.


As someone with little credibility in this field, I highly recommend gourd ukuleles. This one sounds fantastic and its a lot less work to make since the gourd only leaves one face unfinished.
Leave a Reply
You must be logged in to post a comment.