
My first homemade guitar had three main objectives: learn how to make a fretboard, learn how to install a truss rod, finish as soon as possible. So this post is about that first goal.
I found a scrap of cocobolo at my local wood store just thick enough to be the fretboard and long enough to also be the front face of the guitar head. I did a bunch of sanding to get it to an even thickness (forgot to take pictures of all of this). I decided I wanted to have a radiused fretboard instead of flat, so I started by making a radius sanding block.
I actually tried 3D printing, but it was really really slow. So I gave up long before my block was a useful length. Instead I turned to a much faster process, laser cutting. The two holes are for dowels used to align all the pieces in gluing.

After gluing the stack together, the radius surface was still quite uneven due to the slight draft on each layer. I did some sanding to take off the really high peaks, but decided it was faster and easier to smooth things out by just gluing a thin sheet of metal over all of it.


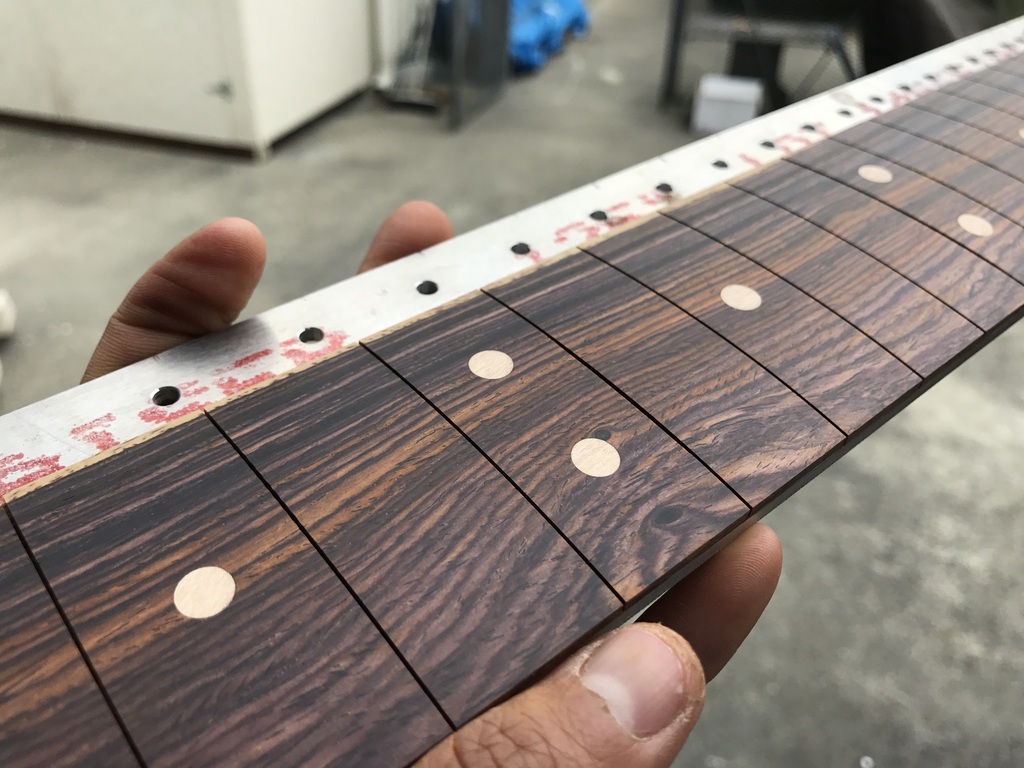
Next I drilled some shallow holes to accept maple fret markers that I made using my homemade plug cutter.
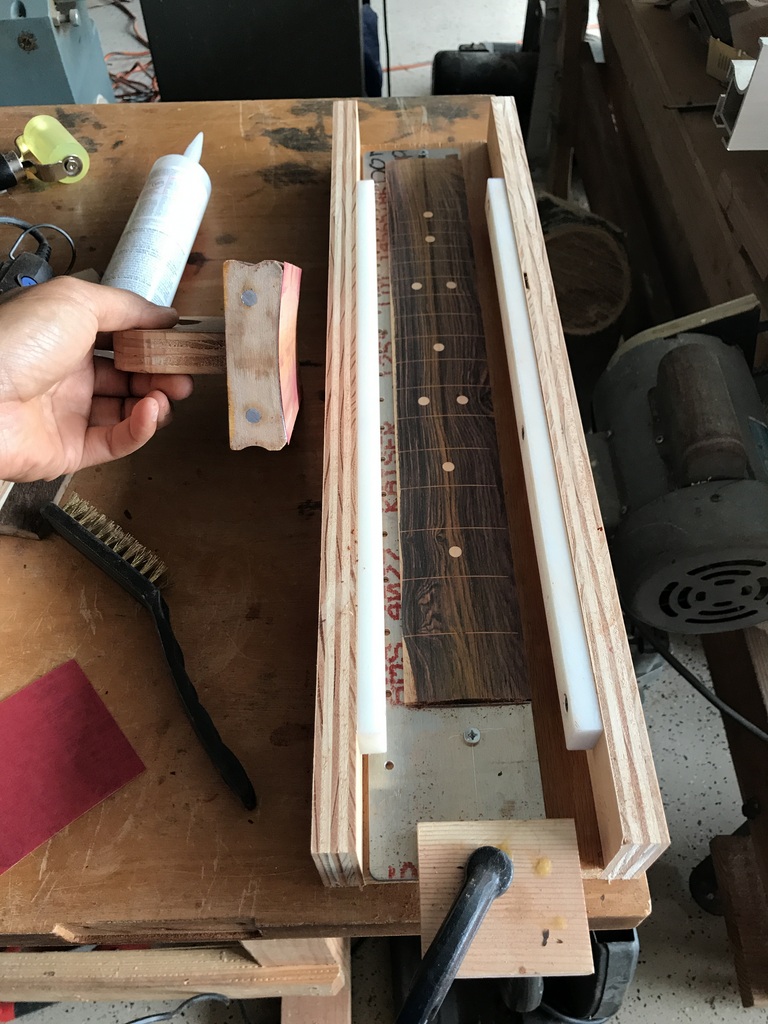
The photo below also shows the ‘jig’ that helped me cut the slots for the frets. I used the water jet to cut the aluminum plate that the fretboard is double-sided-taped to. The plate has holes that are spaced the way the frets are spaced. So with a pin on my miter box, I can easily get accurate spacing for all the slots. I forgot to take pictures of all that, too…


After the glue dried, I flush cut all the markers and began the long process of sanding. Started with 80 grit and worked down to about 220. I used double sided tape to adhere the sand paper to the radius sanding block.

With the slots cut (and the fact that my blank was quite thin to begin with) the fretboard is quite delicate. I used a heat gun on the aluminum plate side to weaken the double sided tape, and then used a card to shim them apart.

Then I marked out the taper shape and roughed it into shape on a belt sander.


After this I glued it to the neck and then hammered in the fret wire – hopefully all detailed in a post coming soon!
Leave a Reply
You must be logged in to post a comment.