
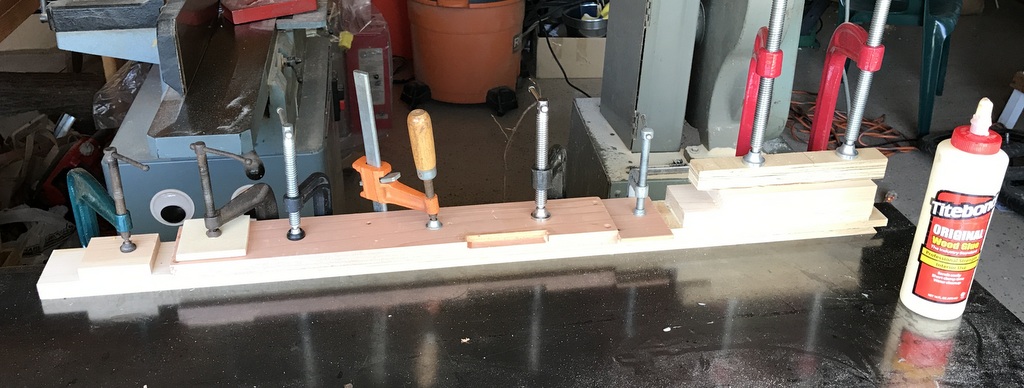
The body of this guitar body is fairly unconventional because I was too lazy to make all the jigs for bending the sides this time around. This effort was pretty focused on just learning about truss rods and fretboards. I started this stage the same way I start a lot of projects these days – plane a bunch of scrap wood to size (this time maple) and glue them together, usually using far too few clamps. I keep meaning to fix that…
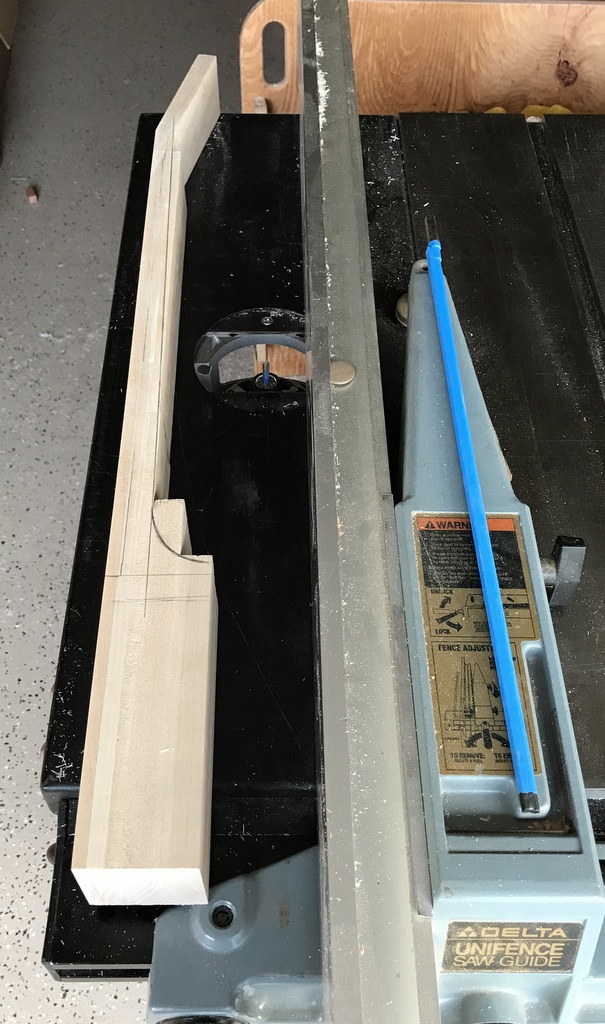
I used a taper jig on the table saw to cut the scarf joint for the head.

After gluing the head on, I planed the fretboard surface and prepared to cut the slot for the truss rod with a router.
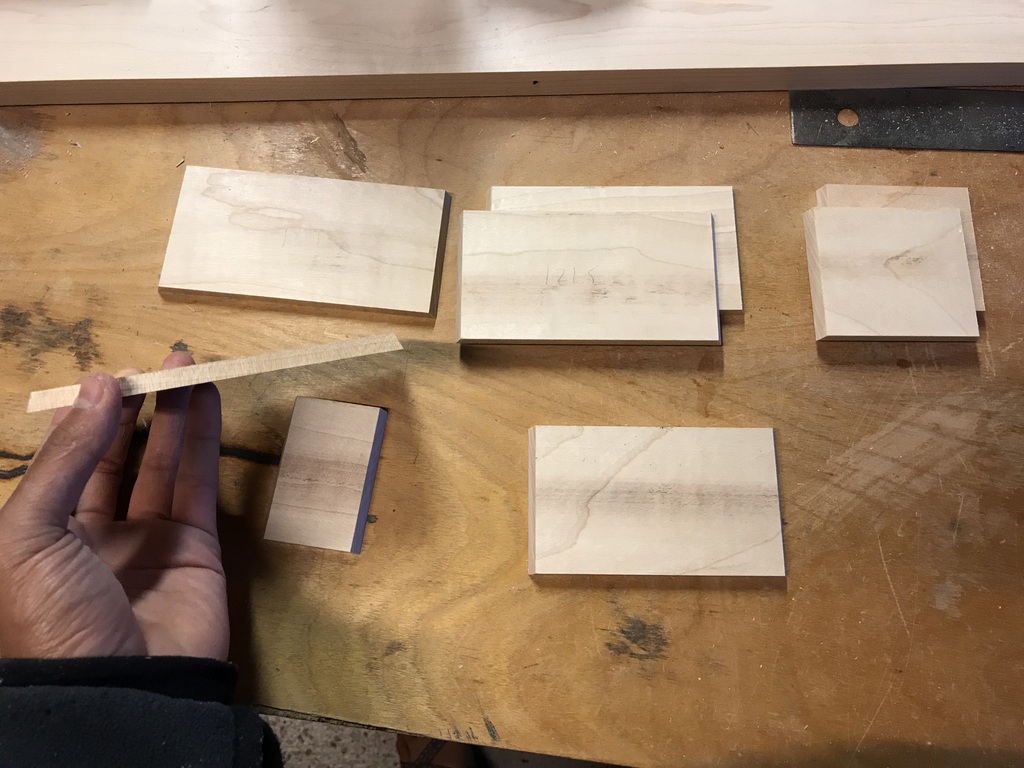
Now let’s take a brief detour from neck construction to figure out what’s going on with the body. I didn’t want to do something too simple, like a rectangular box. So I went as complicated as an octagon.
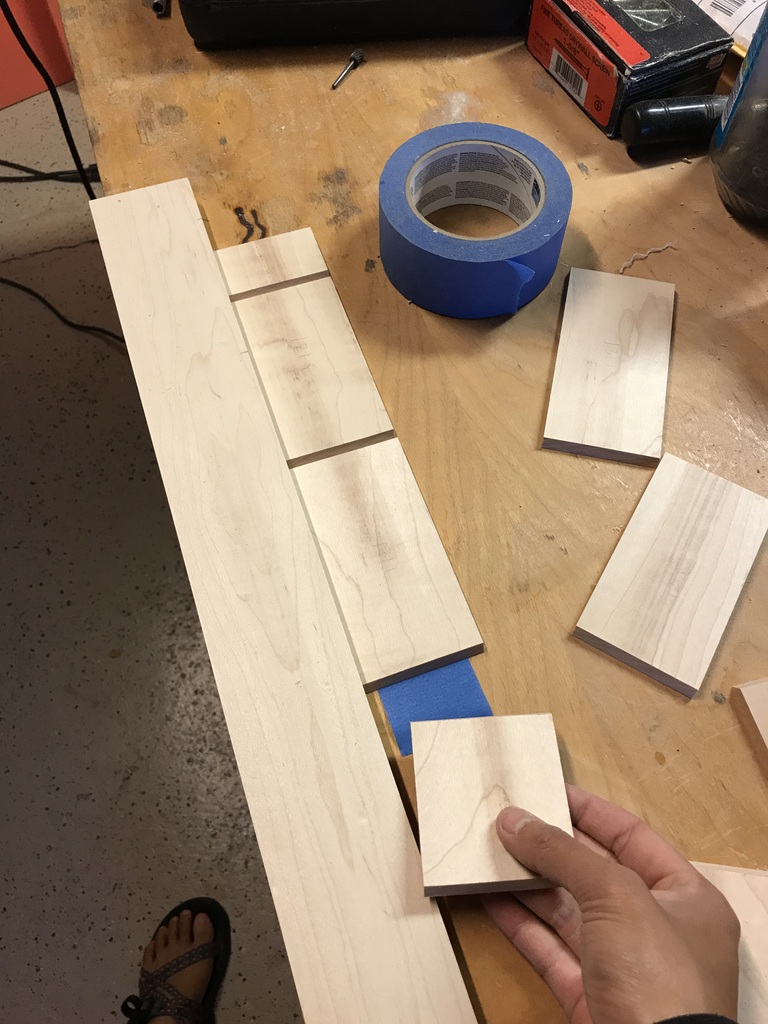
Tape on the edges of the mitered pieces like this acted like hinges that made for a magical glue up experience as shown here:
With so little glue area on the mitered joints though, I knew I wanted some kind of reinforcement. So I decided on something that would add a little style, too.


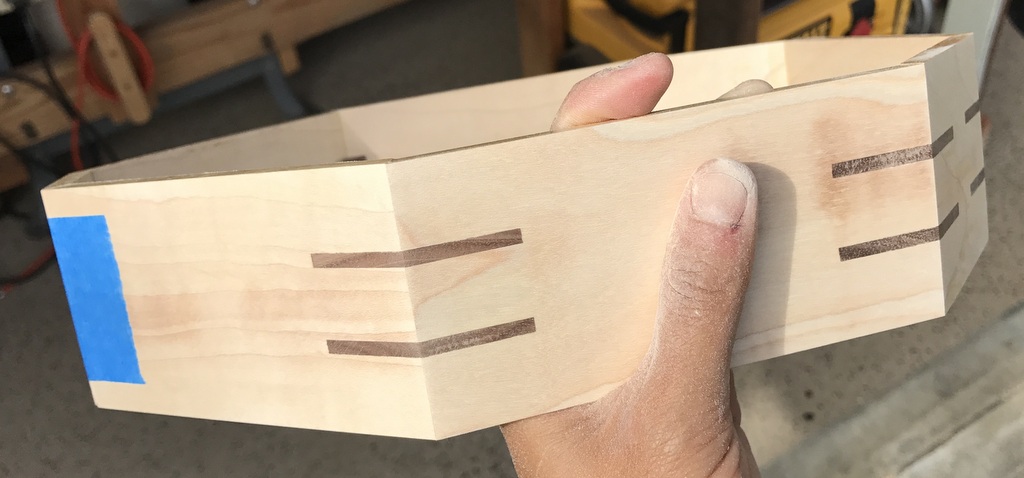
You’ll notice that the left-most mitered piece in the photo above is still taped in. That’s because its just a placeholder for the neck. In the photo below, you can see angled slots cut into the neck for where the body will connect. This also shows the main thing I would change about this build if I did it all again. I cut the scarf joint for the head too far up, and would have loved to have more margin for the heel. Those angled slots get awfully close to breaking through.

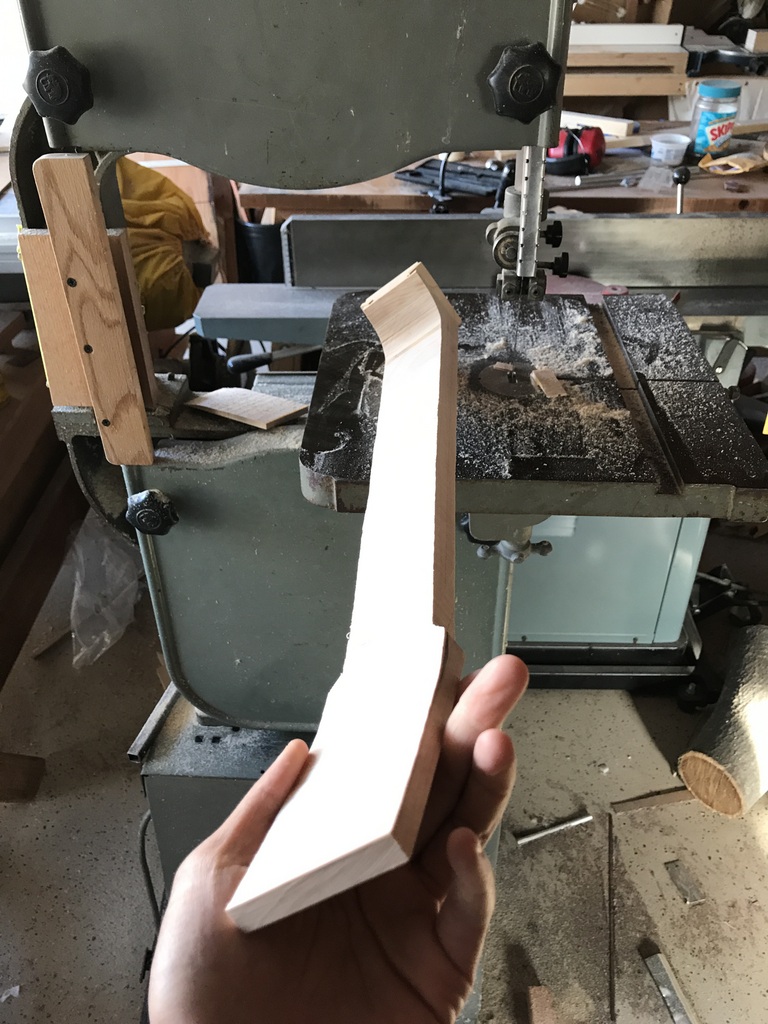


Shortly after, I glued the body to the neck. This was another frantic moment of not thinking out the gluing process and the clamping strategy before hand, so no photos were taken in the panic. Because I didn’t actually make the neck and body the same thickness, I needed to add an additional trim piece to make it work. The photo below shows how I made room for that trim piece, and also shows more clearly how I definitely could have given myself more room with a meatier heel. Its so thin that the process of inserting the body into the slots cracked the heel on the left.

Next I prepped the material for the back. I happened to have a piece of maple just a hair wider than half the body, so I book match cut, glued, and thickness sanded.


Below you can see the back trimmed to the sides, and the heel trim piece (cocobolo). It looks surprisingly deliberate, which I assure you it was not.


Around this time I started to feel insecure about the strength of the attachment between the neck and the body. In hindsight, I think it was fine. But to give me plenty of safety factor, I did three things. First was to cut a little block to fill in the gap shown above between the inside face of the back and the heel. Second was to glue in a reinforcement bar along the entire back. This should take a lot of the compressive load from the strings.

Third thing was to make fillets between the neck and sides with epoxy. I clamped the assembly vertically, made a little dam with tape, and just poured some in. This photo also shows the reinforcement bar and the filler block nicely.

Next up: soundboard and final assembly!
Leave a Reply
You must be logged in to post a comment.