
Previous posts were about making the fretboard and making the body. Next I worked on the soundboard, which used leftover material from the spruce soundboard I originally bought for my gourd ukulele. The X-brace is made from what I’m pretty sure is mahogany and the sound hole brace, probably unnecessary but gives it a nice finish, is made from maple.

I removed most of the material on the drill press and finished it with a whittling knife and Dremel tool.

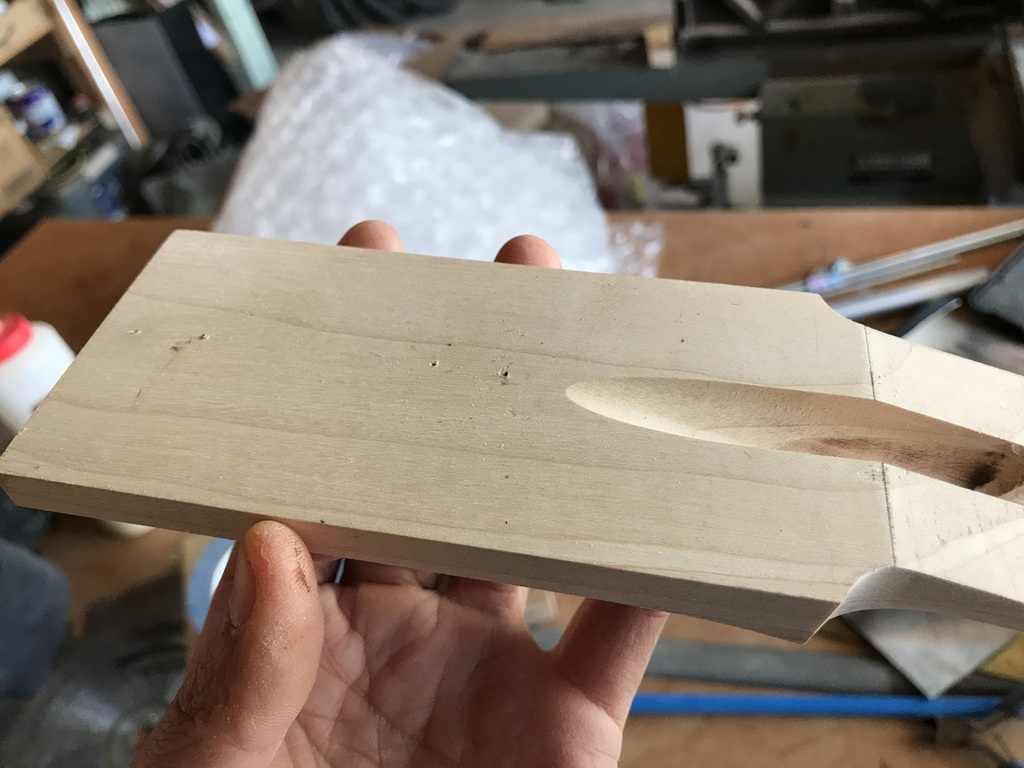
In the photo below you can see that I added a chamfer on the back edge of the sound hole brace so that it doesn’t look so thick from the outside. I also shaped the X-brace before gluing.


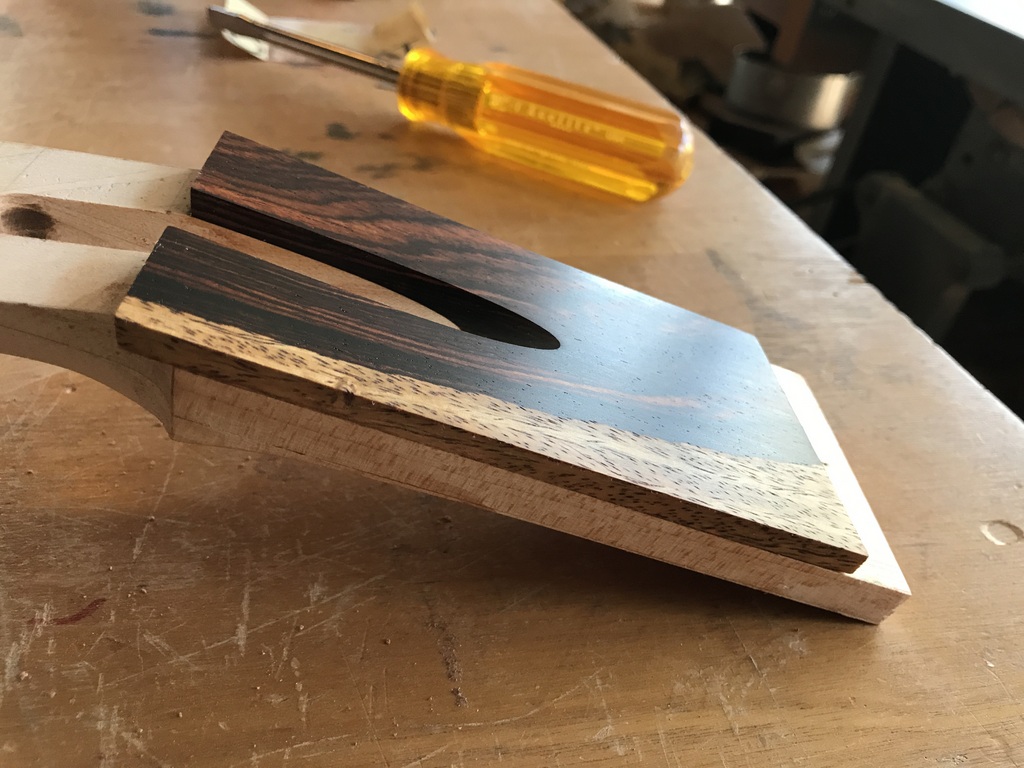
Next I’ll go back a few steps to talk about how the ‘veneer’ for the head was shaped. Veneer in quotes because its a very unnecessary 4mm thick. On my next guitar, I would make that thinner. I started by mitering the right face of the veneer so that it will eventually sit flush against the nut (this edge is hidden under the post-it in the photo below). After that, I used a post-it to trace the already-slotted head (top part of the photo below) and then used that to roughly bandsaw away most of the material.

Before anymore shaping, I glued the two pieces together, using two cut-off staples to keep them from sliding around with the glue. The trick is to press the two parts together in the correct placement without glue, creating little indentations in the other part, which align the parts even when there is glue.
With the two parts glued together, I mostly manually sanded the facing of cocobolo to match the slot in the maple.
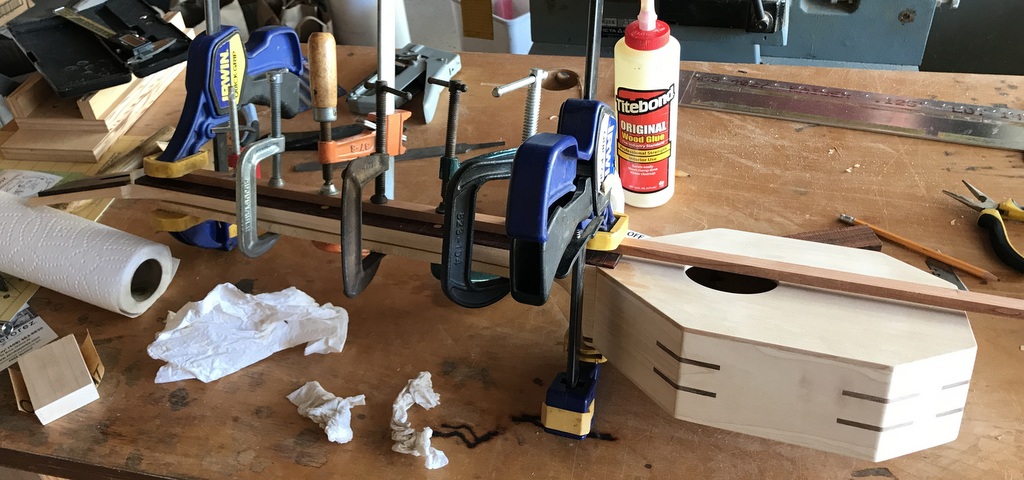
Next finally came the momentous step of gluing on the fretboard. I again used cut-off staples to prevent sliding during the glue up. And this time I made sure to gather the necessary clamps ahead of time. I avoided spreading glue directly onto the truss rod, but I’m sure some squeezed on anyway. The whole thing came in a blue shrink tube plastic though, so I’m not that worried about the glue messing with its function. Seems to be working out so far.


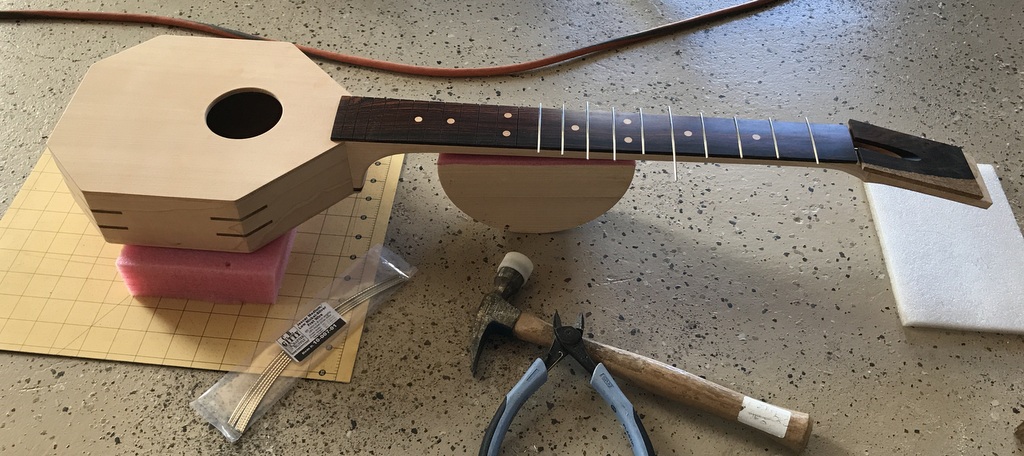
With the fretboard glued in place, I felt like it was time to pound in the fret wire. I avoided doing this earlier because the fretboard blank really is quite thin and I was quite certain that hammering fret wire into it would at the very least cause it to arch. Operations occurred on the ground so I would have a stiff hammering surface.


The edges of the wire were beveled with a file clamped in a wooden block with an angled slot that fits the file. The wooden face runs along the tops of the fret wire to keep the angle consistent.


There was quite a bit of fine sanding and polishing of the ends to get them smooth to the touch, but I forgot to take pictures. Also, further in the assembly process, my understanding is that fancy guitars get their necks tensioned in a fixture as they would be tensioned with strings, and then the tops of the frets are sanded level and polished back to a round shape. Yea, I skipped all that.
Bridges and nuts were made from one of those bones you give to a dog. They come dried and clean and you can get tons of parts out of a $7 bone.

For cutting grooves on the nut I marked out the positions and started all of them with a triangle file. For the larger strings I even used a set of special files that come in lots of diameters. They are basically wires with grooves on them, so you can’t use them to remove tons of material, and you don’t need to. I hear you can use actual guitar strings, too.


I don’t actually know anything about compensation. I just copied the shape of my friend’s Martin guitar.

All along my idea was to attach the strings via a tail piece instead of anchored in the bridge. I guess I’m still not too confident in my soundboard construction. And this just seems like a more robust construction. Also, in the case of this guitar, where the center of gravity is horribly shifted up the neck, the tail piece represents somewhat of an opportunity to shift it down a bit. Ideally, the whole thing would have been a giant slug of stainless steel, but I couldn’t find a scrap that big, so I settled for part stainless, part aluminum. Below is the machining of the aluminum part.

Skipping over a lot, below shows the finished tail piece. The screw for the strap button is a 10-32 that goes at least half an inch into the body and reinforcement beam, and is the only thing that attaches the tail piece to the guitar. The other 3 screws are just to attach the two piece of the tail piece.


After like 6 or 7 coats of Tru-Oil I got bored and called it done. The key to a good finish is definitely unwavering patience that I can’t always muster. Maybe on the next one…
I’m pretty happy with how the neck came out though.


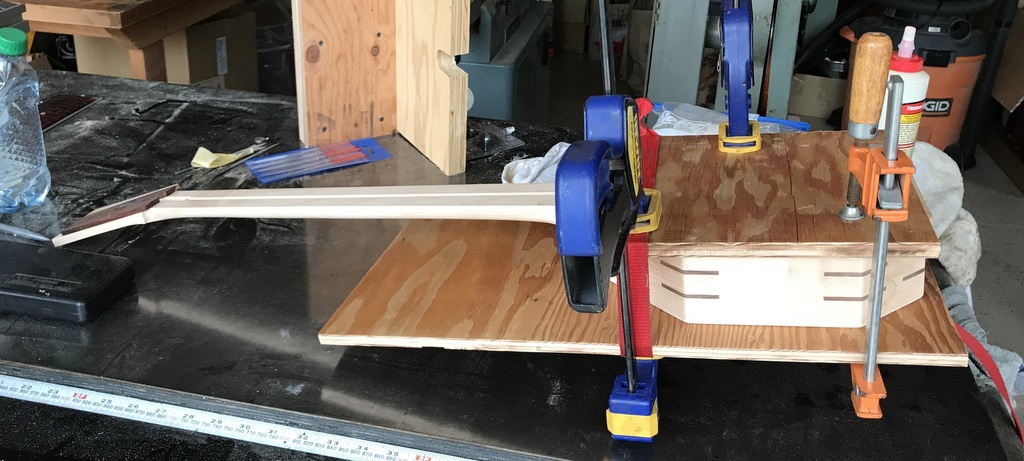
The pieces on the bottom of the photo above are for better spreading the clamping pressure around the X-brace on the back of the soundboard. I should have used way way less tape on the triangles though, the big triangle is a mostly permanent part of the assembly now…doh.

I let the glue set up a big and then peeled the tape off, which left a surprisingly clean joint. A damp cloth took care of the rest.


Here’s a time-lapse of the final assembly and stringing:


In general I am very pleased with the sound. It doesn’t have a ton of base as expected, but I quite like the tone. I also really like that its on the quiet side. It saves those around me from having to hear me stumbling through the stages of a beginner guitar player. I’ll have to post a video when I can actually play stuff.
Because of the balance, the strap is pretty necessary to hold it properly. I think I’ll have to modify it to make it adjustable. I also bought a banjo gig bag for it and it fit perfectly. Overall I expect this to be a really fun guitar to learn on and travel with.
Leave a Reply
You must be logged in to post a comment.