Almost two years ago, a friend of mine wanted help building a top bar bee hive with these instructions http://www.buzzaboutbees.net/support-files/how_to_build_a_tbh.pdf, so I thought I would build one with her. Who knew it would take two full years to get it set up in a garden… Here are some photos of how my build came along, but that PDF is certainly a more complete reference for if you want to build your own.

Like many projects, it started with a pile of scrap wood. I had some pretty nice, unpainted pieces of wood to use as the sides, but they were a little bowed.

So I screwed in some cross pieces on the end so that they would be straight. The straightness isn’t actually critical to the function of the hive, it just makes it easier to predict how the pieces will fit together.

Here are the side pieces assembled to the end pieces, forming a trough shape.

For the legs I wanted to use something that would weather better, in case the feet got wet. Conveniently, a friend had bestowed upon me pieces of her former deck, which I ripped into shape.


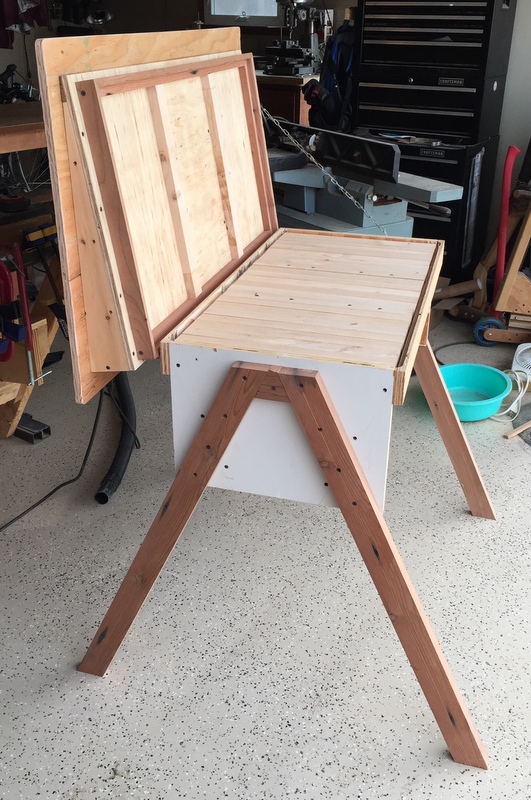
Here it is with legs. I also added two rails on either long edge of the trough – not really necessary in hindsight, but they make for convenient handles when moving the whole assembly around.

The bottom of the trough is covered by some fine mesh to provide ventilation for the bees and help keep things that bees don’t like out of their hive. Because I added the cross pieces to straighten the side boards, I needed a little filler block to help give me a more continuous bottom surface to staple the mesh to. If the side boards were straight, none of this would be necessary.

Next I made the bars that give the top bar bee hive its name. Lots of folks on the internet suggest that giving the bees some kind of ridge to build off of is helpful for them to build orderly comb. I started by ripping a groove on the top bars, and then gluing in a sliver of wood to form the ridge.


Here is the process of gluing them together.

Next, I worked on the lid, which is composed of all the 3/8″ plywood I had left in my possession at the time. Clearly what I don’t have in plywood I can make up with screws.


I wanted the roof to have some kind of angle so that it would better shed water. And I wanted to create some kind of enclosed hollow space with the roof, to provide better insulation. An “A” shaped roof seemed like twice the work of a ramp shaped roof, so I went with the ramp.

To cut the wedges that form the frame, I used a nifty taper jig shown below. A board with a straight edge is used to reference the fence, while the toggle clamps let you clamp the work piece however you want.


I also added hinges and a chain so that the roof is easier to lift off, and there is no tricky alignment to put the roof back on.

Some changes I am considering before I actually get bees:
1. drill a hive entrance on the end board, instead of using the one on the side so that I can stand on the long edge of the hive and not block bees who are flying in and out.
2. adding an observation window so that I can still see them build stuff on the inside, but disturb them less.
I’m still pretty nervous about actually getting bees and getting stung, but at least the hive is mostly done.
Leave a Reply
You must be logged in to post a comment.