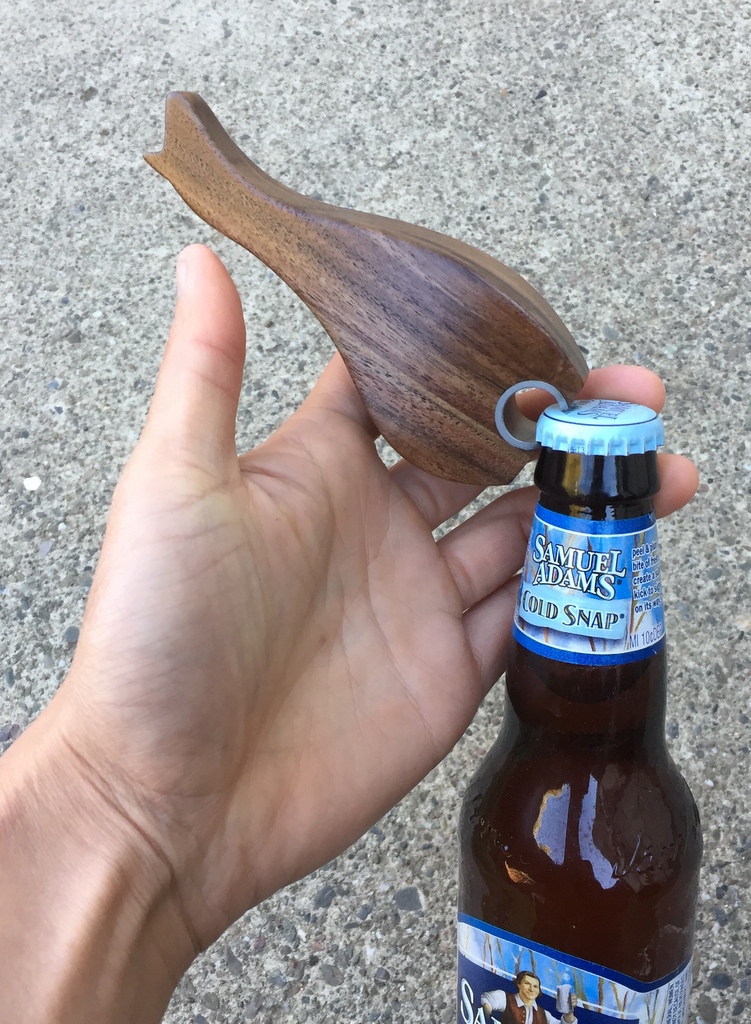
Llamas and open bottles! What’s not to love?
These were made as a pretty last minute secret santa project, only getting around to blogging about it now…
I used walnut for this project, too. I started by sketching out a shape that could plausibly be considered a llama on some card stock junk mail.
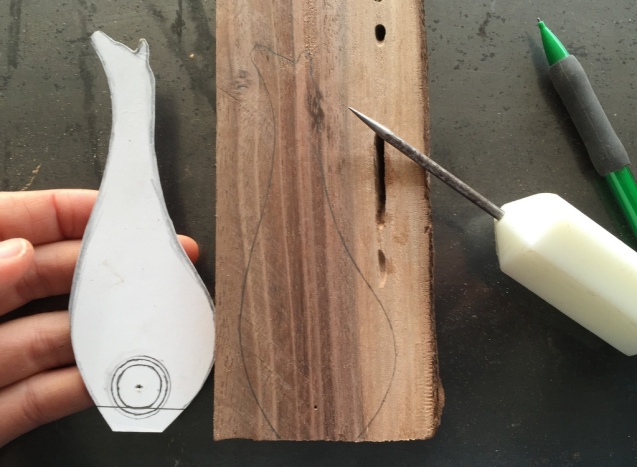
Then I cut out the 2D shapes with a combination of drill press (for the circular arch that forms the legs) and band saw. Show below is after some sanding with a belt sander.

I wanted to keep the shape really simple since I was so limited on time to get these done. So I sanded in a simple two dimensional curve on either side. The parallel pencil lines were to help me eyeball the curvature.

For the part that touches the bottle cap to be metal I decided to epoxy in a short section of metal tube. The drill bit I had was a tad small, so I enlarged the hole by taping some sandpaper to a screw driver bit to make a sanding mandrel.

Because the steel is so much harder than the wood, I wanted the metal inserts to be fairly close to shape before potting in. That way there would be minimal material to remove, and hopefully less risk that I overheat the glue bond.


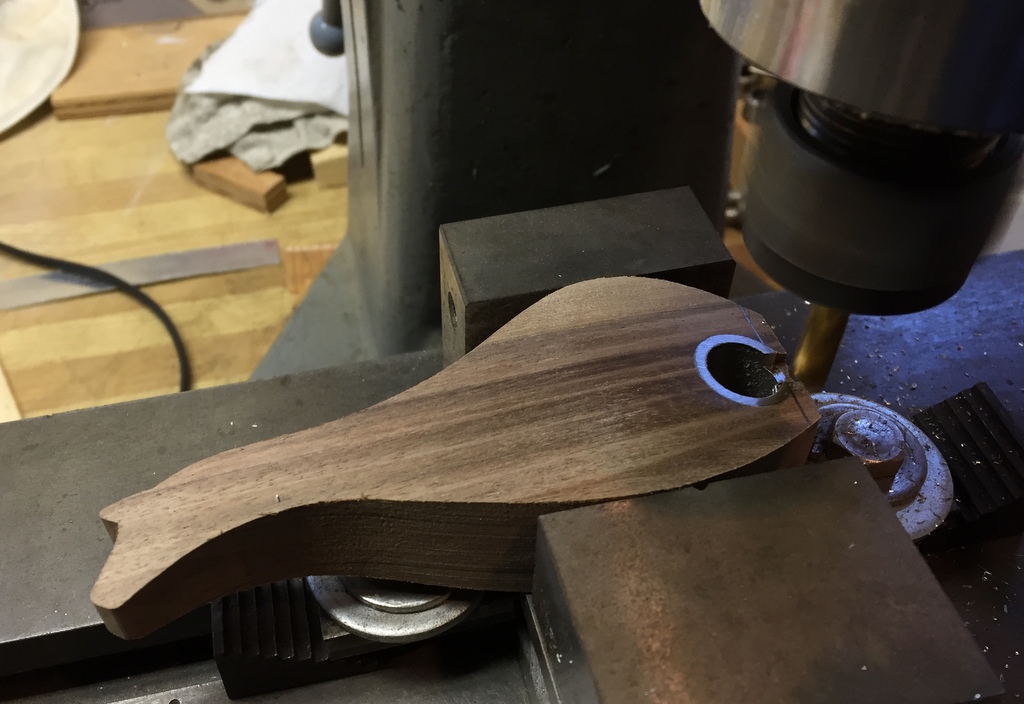
I was trying to think of the best way to remove the bottom of the tube while generating the least heat. If I had a sharp bandsaw blade, I might have chosen that. Instead, slowish passes on the mill seemed to do the trick. Probably would have tried a hacksaw next if this didn’t work.
I removed the rest of the material (up to the line you can see in the photo below) using my belt sander, forgot to take a picture.
Using small files to shape the ears worked alright. But for the second one I took the time to sharpen my whittling knife, and that actually worked way better.


I used a spray-on polyurethane for the one that I had to give away at the secret Santa the next day. For the second one I used a few coats of Tru-oil. Time will tell how both finishes last.


Leave a Reply
You must be logged in to post a comment.