Over the past year, I’ve undertaken two big modifications to my house to help decrease our usage of natural gas, by increasing our usage of renewable electricity. The first was to install a ductless mini-split heat pump heater and air conditioner unit. The second was to install solar on the roof. Let’s start with the heat pump.
When I moved in, heat was provided by a Coleman gas furnace whose model number suggested it was manufactured in the 90s. The fan was incredibly loud and it didn’t actually seem to heat air that well, so we rarely used it, relying primarily on sweatshirts, thick socks, and shivering instead. I did some research and it seemed like ductless mini-splits were all the rage in terms of efficiency and noise level, so I started figuring out what it would take to install one.
A mini-split involves two (split) parts – a compressor unit that sits outside I opted for the following, ordered from Home Depot, which is quite close to me, thus simplifying pick up (and returns, if needed): MRCOOL DIY 24,000 BTU 2 Ton Ductless Mini-Split Air Conditioner and Heat Pump – 230V/60Hz
What makes these units fairly easy to install is that the compressor/condenser unit sits outside, while the fan unit hangs on the wall on the inside, and only a single large-ish hole is needed for the umbilical that connects the two. This umbilical contains wires to power the fan unit, copper tubing filled with refrigerant, and a drain tube for any condensation that builds up in the fan unit. What makes this particular kit DIY is that the copper tubing comes in a set length pre-charged with the refrigerant, which is released into the rest of the unit when it is screwed into the compressor. This is so the user can avoid having to evacuate an air-filled copper tube, then fill it with refrigerant at the right pressure. The downside is that you end up with an extra long umbilical to deal with, and because its longer, its a slightly less efficient system that what you would get with the ideal length tube.
First things first, recruit friends (thanks Tom and David!). Drill a big hole.


I wanted to have things mounted securely to the wall, and also slightly downhill the whole time to avoid water puddling up, and ever so slightly optimize efficiency. The copper tubing is quite stiff, so it was great to have so many helpful hands!


This went up in December 2017 so we haven’t really had a whole winter with it yet, but so far its been pretty good. The house is 5000 sq ft, and reviews that I read online suggested that this 24,000 BTU unit was capable of heating a space up to 8000 sq ft. But our house is also made of separate rooms and a little hallway – not one big open room of 5000 sq ft. So in truth, this heater just does a good job heating the living room (where its located) and kitchen (right next to it). In the future I might add another circulation fan, but for now its already a big improvement over the gas furnace. The compressor is quiet to begin with, and undetectable since its outside. The fan unit is very quiet.
Another added benefit is that I was able to remove the old furnace (again with lots of help), and (over many many months) turn it into a little bonus room that has a skylight and will eventually have built in book shelves and a nice reading chair.


Next came the decision for solar, which was a little more involved than deciding to change the furnace. For one, our utility service had already been converted to 100% carbon free a few months earlier, so there was less carbon footprint incentive to add solar. But there was still the benefit of being able to generate electricity closer to where we used it, and the cost benefit that comes from Net Metering 2.0. Plus, having the auxiliary outlet that comes with the inverter really appeals to the disaster prepper in me.
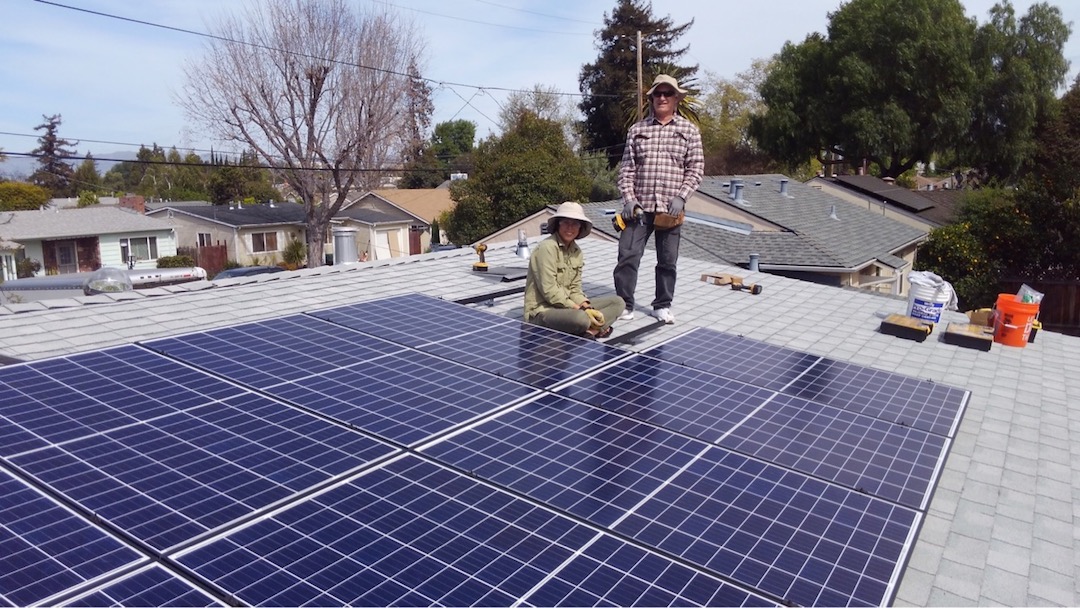
I worked with SunWork as the solar installer, since they specialize in small-scale installs and because I had volunteered with them on previous installs (trained volunteers is part of why they are able to offer attractively priced installations for people who already have a <$100/month electric bill).
Ernest, who led the project, did most of the inverter install on a Friday. David and Marc, the volunteers, have actually both professionally installed solar in their non-volunteer lives. Their expertise, combined with my very simple roof layout, meant that the system was operational by 3pm on Saturday afternoon. I was impressed!


What’s next?
With the solar credits we’ve been racking up from net metering, we are looking forward to a winter of “free” heat pump heating. Our monthly electric bill is down to $10 (just the transmission fee). Also, I can’t be the only one who finds a small joy in going online (yes, the inverter is connected to the internet) and seeing how many kWh we’ve produced so far.
The remaining gas-powered appliances at the house are the water heater, dryer, and stove. I’ll be on the look out for a good deal on a heat pump water heater, and eventually an electric dryer. I’m not ready to give up gas cooking yet though, so we’ll see about that.
Leave a Reply
You must be logged in to post a comment.